Showing posts with label Paint. Show all posts

Monday, March 10, 2014

Children's Art Wall


We have 5 kids and they make a lot of pictures for us to enjoy.  Our refrigerator is stainless steel, which means it's not magnetic, and therefore the only way to display their art was taping it to the wall.  Um, not ideal.  So I saw this idea on Pinterest (originally pinned from The Project Girl, who found it in the Utah Valley Parade of Homes):


I loved it!  The only deal breaker is that it's white.  5 kids and 3 dogs and white are not a match made in heaven.  So I picked up a bunch of blues, greens, and purples to make my background.


I picked 8 different colors and then spread each color all over a piece of plywood and mixed them together in the brush strokes.  Don't worry about it being perfect, just splatter it randomly around.


The entire sheet was done in about 8 sections so the paint wouldn't dry before I got to mixing it together.


I cut it down to 4' x 6' and then nailed it to the wall with my nail gun.  I screwed eyelet screws into pine boards and then nailed all the trim on top of the background.  Then I added picture wire between the eyelets for the kids to hang their artwork on.


A quick little close up:


I finished it off with a little paintable caulk to fill the holes and painted the pine boards to match the rest of the house trim.  Now the kids can hang their art as they finish it and change it out on a whim.  The best part is that they have a dedicated art space in the center of the home where it has a place of honor and everyone can enjoy it.

Sunday, November 20, 2011

New Office

The new office is painted! We got all of the stuff moved in and it looks so nice and clean. I just love it. We started with this room and here is where we have gotten to thus far.


For anyone wondering, the paint colors are Dark Granite on the walls and Billowy Down on the ceiling, both from Behr.


Boys' Room To Do list:
-Paint boys' room navy blue (they want to keep the color they have now) with white stripes
-Add shelves above beds in boys' room for treasures
-Add bedside lamps
-Hang new curtains in boys' room
-Move all the furniture/stuff between rooms

This is the boys' room at the moment, carpets freshly shampooed, and it will be the next large project we tackle here:

Tuesday, October 25, 2011

Fish Tank: Painted

Day 25/31:


We inherited a HUGE fish tank and the kids are really excited about it.


But it was about 25 or 30 years old and needed a little bit of love to get it ready.


So last week I got it all sanded down and primed. Friday night I got it painted chocolate brown (I have used this paint on so many projects and I STILL have a half gallon left) but the fun came in last night.


I had an idea to paint fish silhouettes on one of the doors but Husband said it would be so much better if I added a shark to chase them. He was kidding but I decided he was on to something. I played around with ideas in Paint to figure out just how I wanted it to go, using clipart images I googled.


Then I sketched on some paper my shark and a couple of fish. I cut them out to use as templates and traced them with pencil onto the doors.


I used a little black and white craft paint to fill in the lines and done! The fish tank will now fit in with the rest of our somewhat eclectic home just right. I still need to clean the tank out (yuck) but then I can install the whole thing in our entry way. The kids are already arguing about what kind of fish we should get. Since I've never owned fish before I think we're going fresh water as it's easier but I'm open to suggestions. Do you have any big tank wisdom to share? Or an opinion on pretty fish? I'd love to hear your thoughts!


Saturday, October 22, 2011

Fish Tank: Primered

Day 22/31:

It's day 22 and I'm working on a big project so today I have progress pics. Husband's aunt had a great big fish tank that she didn't want anymore and now it's my latest DIY. I got it all sanded and ready to paint but the temperature at night has been a bit cold for garage painting so my dining room is the next best thing.


There was a very good chance I would get primer on the dining table but if I did I figured it would be a good excuse to sand it down and redo that too so that's okay.


So I apologize that today isn't a little more exciting but I'm loving where this project is going and hopefully that means it will be doubly good when it's done. Or something.


Sunday, October 16, 2011

Chandelier Redo

Day 16/31:

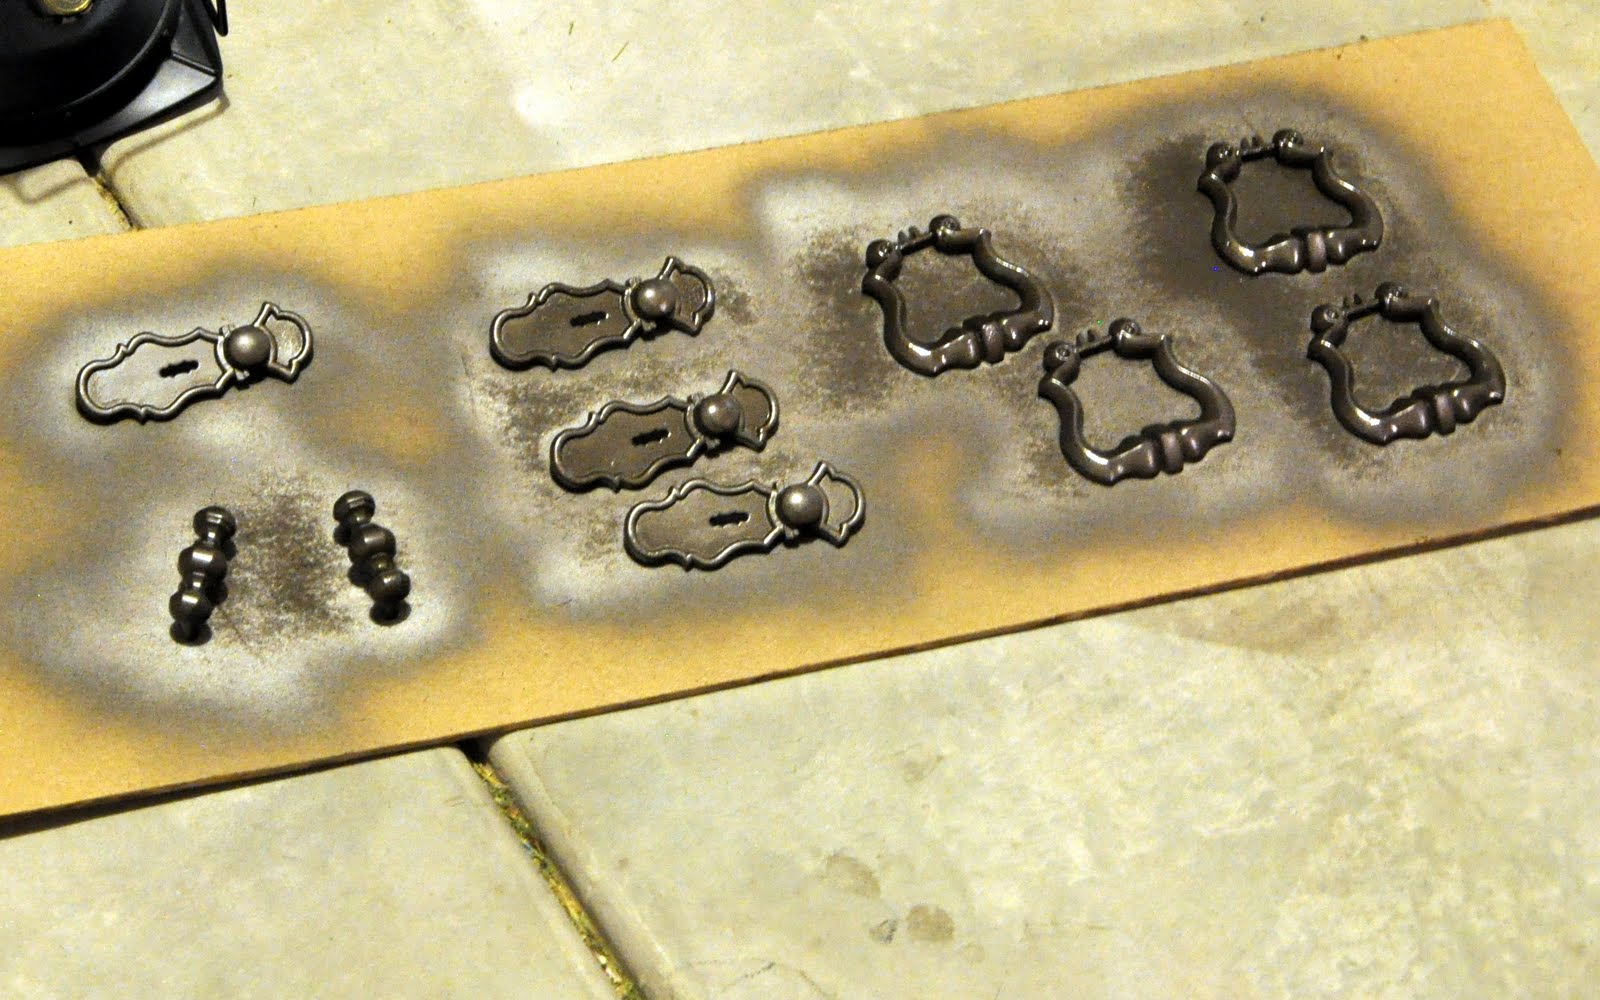
Since I was working on K's room I installed the new light. I bought it from the Habitat for Humanity ReStore for $5 and gave the shiny brass a coat of creamy spray paint. Then I couldn't help adding a little bling from the dollar store. Totally cheesy and girly and I hope she'll love it.


ps. Like the super fancy paint studio? Haha.


Sunday, October 9, 2011

Alis volat propriis

Day 9/31:

The Latin "alis volat propriis" is usually translated as "She flies with her own wings" though technically it is not gender specific and could mean "He flies" or "It flies". It's also the state motto of Oregon, where most of my family is and I've long been in love with the phrase just for the meaning of it. What a beautiful idea to have your own wings. Not anyone else's, just yours. Lovely.


My number one most common thing doodled on a piece of paper? Wings. I'm still figuring out (literally and metaphorically) exactly what my wings look like. But for now, this will do.


What are you up to this weekend? Have some friends over or a project you're working on?

Sunday, October 2, 2011

A Morning Without Coffee

Day 2/31:

A morning without coffee is a lot like sleep

The first time I heard that phrase I knew it was true. I thought it would be a nice touch in the kitchen so for a very simple project I spray painted a board brown (Java, of course) and used a stencil I cut with the Silhouette to make the phrase. And then I made a homemade stencil for the coffee cup by printing the graphic on a piece of cardstock and cutting it out.


I attached a small hook to the back and hung it above the window in the kitchen. I think it works perfectly!


Monday, September 26, 2011

Teal and Zebra Chairs


I knew that my living room needed a couple more chairs and when I saw these unloved and filthy little things at the thrift store I knew they would be perfect to fill the space. Then they sat there for a month as I tried to figure out what color to paint them and what fabric to put on the seats. One of the guys at work said I should use a cow patterned fabric like they have on the seats at the corner bar and that jump started my imagination nicely. Sadly there was no cow fabric to be found, though I did find some fun zebra and I like how it worked out. Pulling the seats and backs off of the frames and recovering them was pretty simple but my staple gun has recently turned into an automatic and made that part of the project a little dangerous and living-on-the-wild-side kind of scary.


Husband suggested painting the frames teal to match the DVD shelf in the room and I certainly won't turn him down when he comes up with bright color choices (yay!). So we jumped in to our newly organized garage and got to sanding/painting.


With the color being so bright I think I need to tie it into the rest of that wall a little more so I have some ideas for the storage bins in the IKEA cubbies in order to bring it together a bit.


Now instead of ugly and filthy the chairs are bright and a little fun. My daughter actually squealed when she saw them. I would call that a good endorsement. What that also tells me is that if it becomes too bright for me I know what other room they would have a good home in. :)


Monday, August 15, 2011

Craigslist Score Refinished


It's almost done! I bought this baby a couple weeks ago and I've been chipping away at the project in between work, kids, camping, etc. All of one's time seems to disapear in the summer but it gets done eventually. It's still missing two doors that I'm finishing up in the garage and I still haven't decided if I'm going to stencil the back but otherwise it's looking good.

If you remember I started with this off of Craigslist. She was $60 and had a few scratches and dings and whatnot needing repairs and some paint. (Awesome quality Craigslist picture here).


I started sanding her down in the driveway the same weekend I brought her home (yes it's a girl). I could have tried to sand in the garage but as you can see that's a bit of a tight space in this picture with that never ending project list hiding in there.


For the hardware I gave it a good scrub and a few coats of ORB paint to match the ginormous light fixture in my living room (that I still have yet to post, shame on me). I didn't make a full tutorial on how I painted the cabinet (sand, prime, paint, poly) because there are lots of them (I like this one) so I hope you'll forgive me for that.


Finally my bowl has a home where it fits. I bought this at TJ Maxx a couple years ago because I thought it was just beautiful but the size and shape don't lend themselves to easy display and it's always stuffed into some akward spot where I hope the kids won't break it. When it's laid down as a bowl the bottom is really skinny and tips easy and to make matters worse it was, of course, holding my glass ball collection which gave me a heart attack anytime the kids messed with it. Now it can be pretty and safe behind a pair of doors. Whew!


I'm hoping I'll finish the doors tomorrow and hang them on Wed. night and then I can fill the cabinet in a bit with some of my pretties. What's your opinion on stenciling the back? If you did it do you have a favorite pattern or color you'd play with?


Shared at:
Domestically Speaking