Monday, September 16, 2013
Homemade Coffee Table
It was time to get a little more grown up in tables and the train table needed to move on. So I turned to Ana White and her awesome plans. I modified her plans for the Adirondack Coffee Table and created this a little wider and longer (49" x 33") with a lower shelf that will hold up to 6 of our toy buckets. It's 20" tall to accommodate the extra storage.
Labels:
Furniture,
Knockoffwood,
Woodworking
Saturday, February 23, 2013
Cabinets and Counter Tops
With the boys moved in to their rooms we are working on the cabinets on the outside of the wall. I'm pretty happy with how they are turning out so far.
I didn't want to buy expensive countertops for this and even the cheap prefab laminate counters were $100 each and I needed two. Yeah, no thanks. So I built my own counters for about $55 total. Thrifty Decor Chick just did something similar here and I thought I could work that idea in to my project. Because I was putting this on top of 12" cabinets I couldn't use 1x4s only (at 3.5 inches it would only be 10.5 inches total and I needed more like 12.5 inches). I did still want it to look like it was intentional so I didn't want to tack a random 2" piece on the back. Luckily, it turns out the measurements worked out for 2 1x4s with a 1x6 in the middle which looks way more balanced. In order to hold it all together I put a 1x12 underneath to screw through but since that's only really 11.25 and not 12 it didn't stretch all the way. See the hole there on the back of the bottom?
To fix that I just used a tiny piece of scrap from the 1x4 I had chopped off earlier. I screwed all of the boards up from the bottom into the top boards so there wouldn't be any holes to patch later.
The cabinets on the left were going to have an angular hole to the side of them that will hold a computer switch. We were going to need access to it so we cut a hole under the shelf in the back so we could get a hand or two in when needed.
I also cut a hole in the back of the cabinet for the power plug but I forgot to take a picture of that part (whoops). I'm hoping that having it up high under the counter will prevent more things from falling in there but at least it will be easily accessible if they do.
So here is where we are at now. The bases and the cabinets are installed. The counter has been fabricated for about $55 (not including the stain we'll need later). I will need to stain and paint next week and then I can start work on the shelves to go on top.
One of my little helpers refused to eat dinner so he got to come hang out and keep me company for a bit. At least we got to have a nice chat while we worked on our tasks.
I didn't want to buy expensive countertops for this and even the cheap prefab laminate counters were $100 each and I needed two. Yeah, no thanks. So I built my own counters for about $55 total. Thrifty Decor Chick just did something similar here and I thought I could work that idea in to my project. Because I was putting this on top of 12" cabinets I couldn't use 1x4s only (at 3.5 inches it would only be 10.5 inches total and I needed more like 12.5 inches). I did still want it to look like it was intentional so I didn't want to tack a random 2" piece on the back. Luckily, it turns out the measurements worked out for 2 1x4s with a 1x6 in the middle which looks way more balanced. In order to hold it all together I put a 1x12 underneath to screw through but since that's only really 11.25 and not 12 it didn't stretch all the way. See the hole there on the back of the bottom?
To fix that I just used a tiny piece of scrap from the 1x4 I had chopped off earlier. I screwed all of the boards up from the bottom into the top boards so there wouldn't be any holes to patch later.
The cabinets on the left were going to have an angular hole to the side of them that will hold a computer switch. We were going to need access to it so we cut a hole under the shelf in the back so we could get a hand or two in when needed.
I also cut a hole in the back of the cabinet for the power plug but I forgot to take a picture of that part (whoops). I'm hoping that having it up high under the counter will prevent more things from falling in there but at least it will be easily accessible if they do.
So here is where we are at now. The bases and the cabinets are installed. The counter has been fabricated for about $55 (not including the stain we'll need later). I will need to stain and paint next week and then I can start work on the shelves to go on top.
One of my little helpers refused to eat dinner so he got to come hang out and keep me company for a bit. At least we got to have a nice chat while we worked on our tasks.
Labels:
Decorating,
Furniture,
Woodworking
Tuesday, February 12, 2013
Minecraft Creeper Wall Art
The kids have been into Minecraft all year and Glenn has been begging for me to paint his bedroom walls with creepers and zombies. Knowing that they will outgrow it in a year or so I wasn't too keen on painting the walls again that quickly, though. But with a painting we can swap it out later when tastes change and this way we're both happy.
The pixelated style of the game makes painting very simple. Lay out a quick grid with some pencil and start filling. I used 5 shades of green and just randomly picked the squares as I went.
A little black paint fills in the face and voila! It's a Minecraft Creeper.
Saturday, February 9, 2013
Room Building
We have walls! The tape is done on the outer wall and will be done in the two rooms today. The plan is to do the texture in the morning and since we are using quick drying texture we can hopefully paint tomorrow night.
Our four footed helper is very excited about the changes even if she has no idea what it is that we're doing.
Thursday, January 31, 2013
Destruct-A-Bear
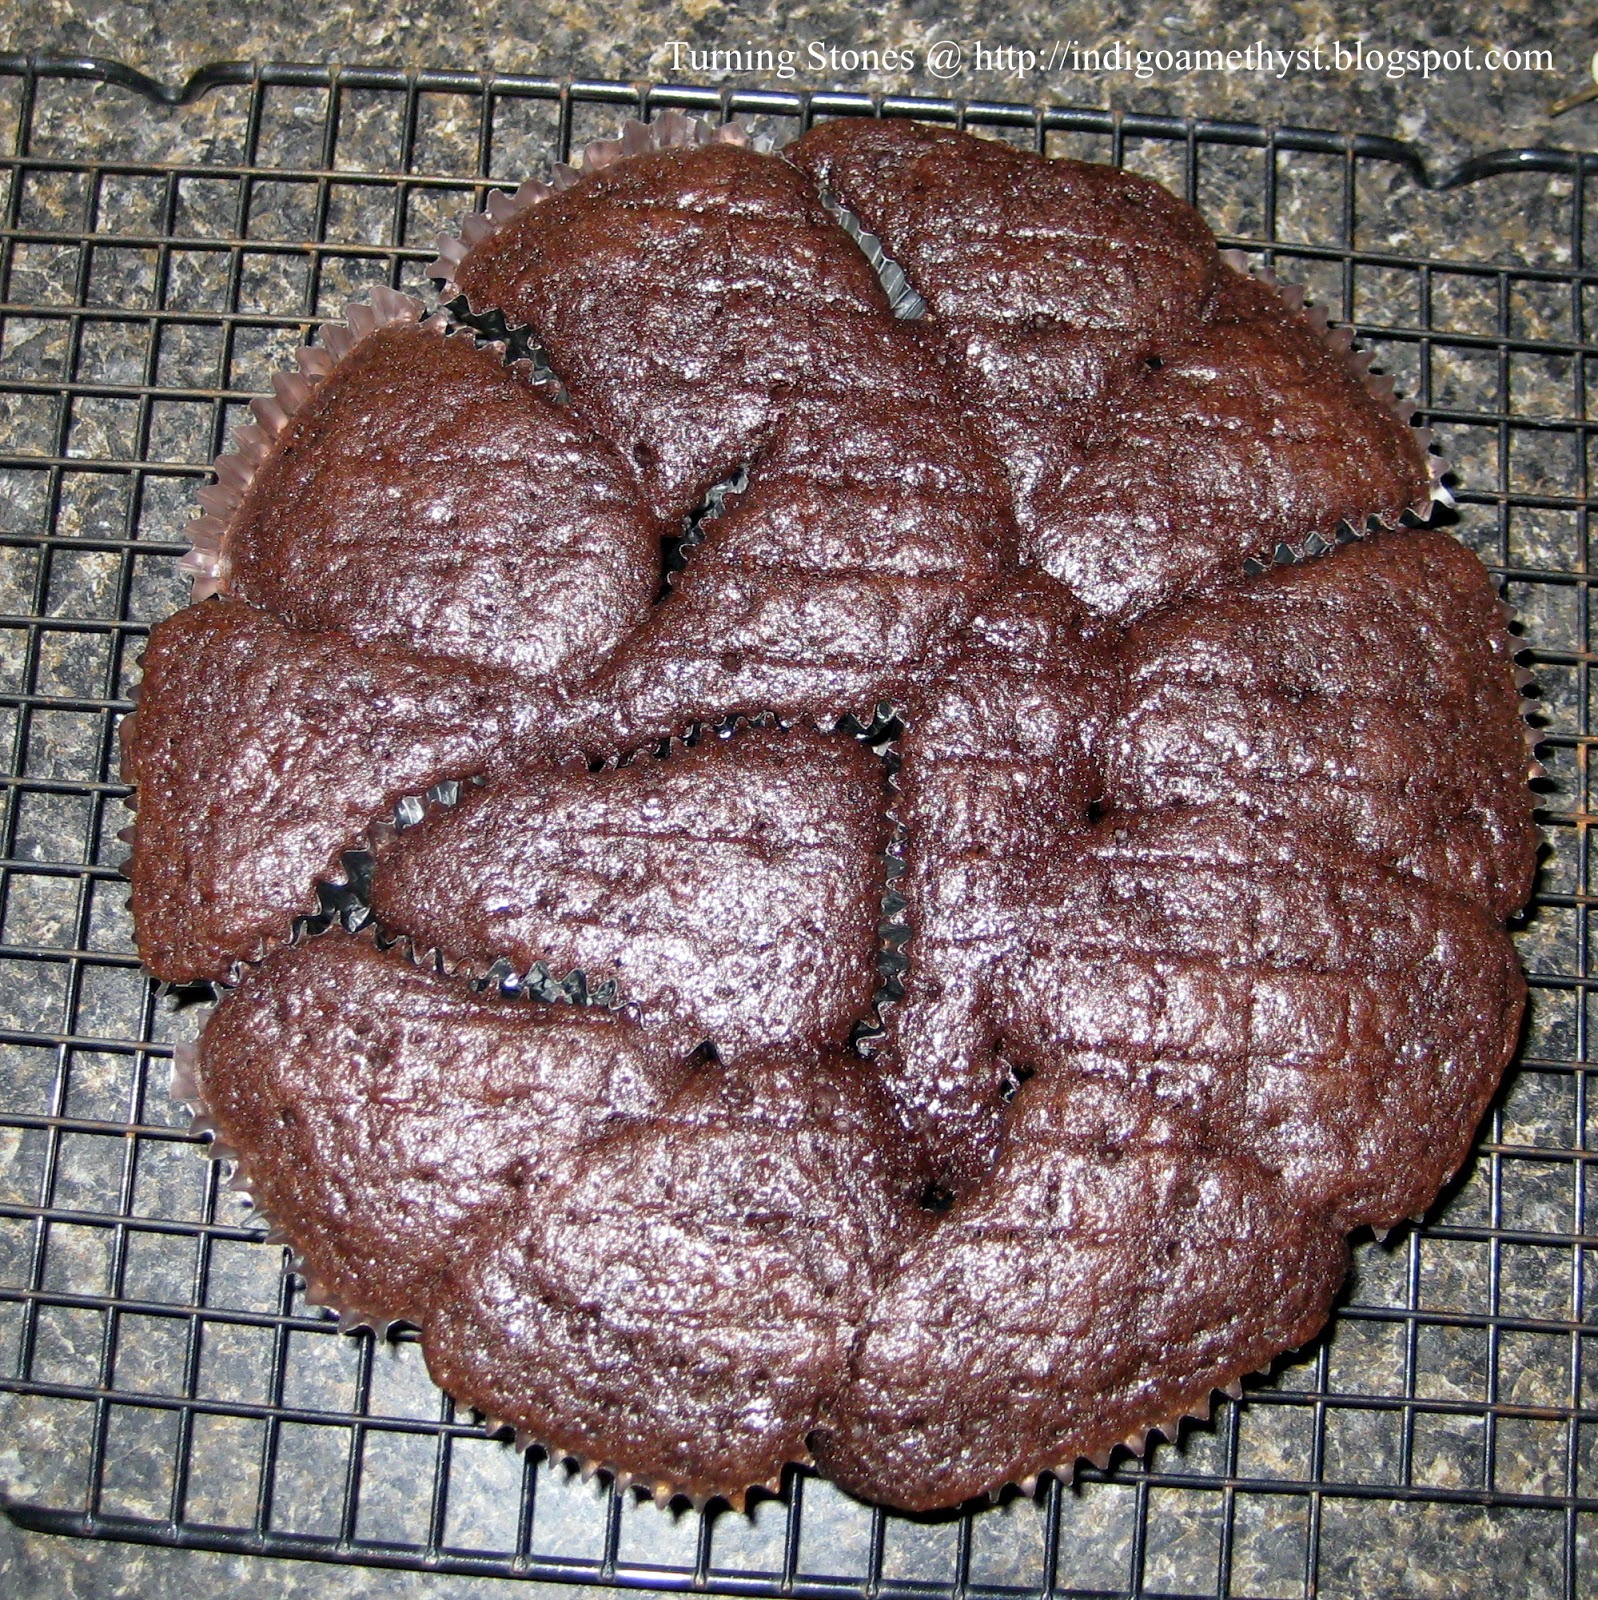
Erin said she wanted to go to Build-A-Bear for her birthday and to go with that she wanted a "Destruct-A-Bear" birthday cake. She wanted to make a bear at the store and pull one apart with a cupcake cake.
I heard a friend talking about putting cupcake papers into a shaped pan to make a cake that was basically precut. She was doing it with a flower shaped tin but said she got the idea from someone else who did it with a round one. I thought that would be a good basis for a pull apart bear and easier to frost than separate cupcakes. I have to admit, it worked better than I thought it would.
I frosted everything in chocolate and just put the white frosting right on top of it. For the nose I used a Starburst cut in half. Then, to make the lines for his mouth I dipped a butter knife into the chocolate frosting and drew with the point of it. Add a couple of eyes from M&Ms and two ears from extra cupcakes and you have yourself a very quick and easy Destruct-A-Bear cake.
Subscribe to:
Posts (Atom)