Thursday, June 16, 2011

Making memories


My front door patio is really plain. In fact, about the only things out there are a welcome sign and a bunch of bikes, scooters and skates. Over the next few weeks one of my new projects is remaking that space into something as interesting as I can for as little money as possible. Which means shopping home.


I started by making this very simple sign (that I found the quote for on Pinterest here)


Materials were:
- A board from the scrap pile
- Brown spray paint
- Clear spray poly
- Craft paint (white wicker)
- Stencil made on the Silhouette machine (I broke the computer cable last week (cry!) but figured out how to use the SD card)

Since I already had all of this it made the project FREE! (love that kind!)
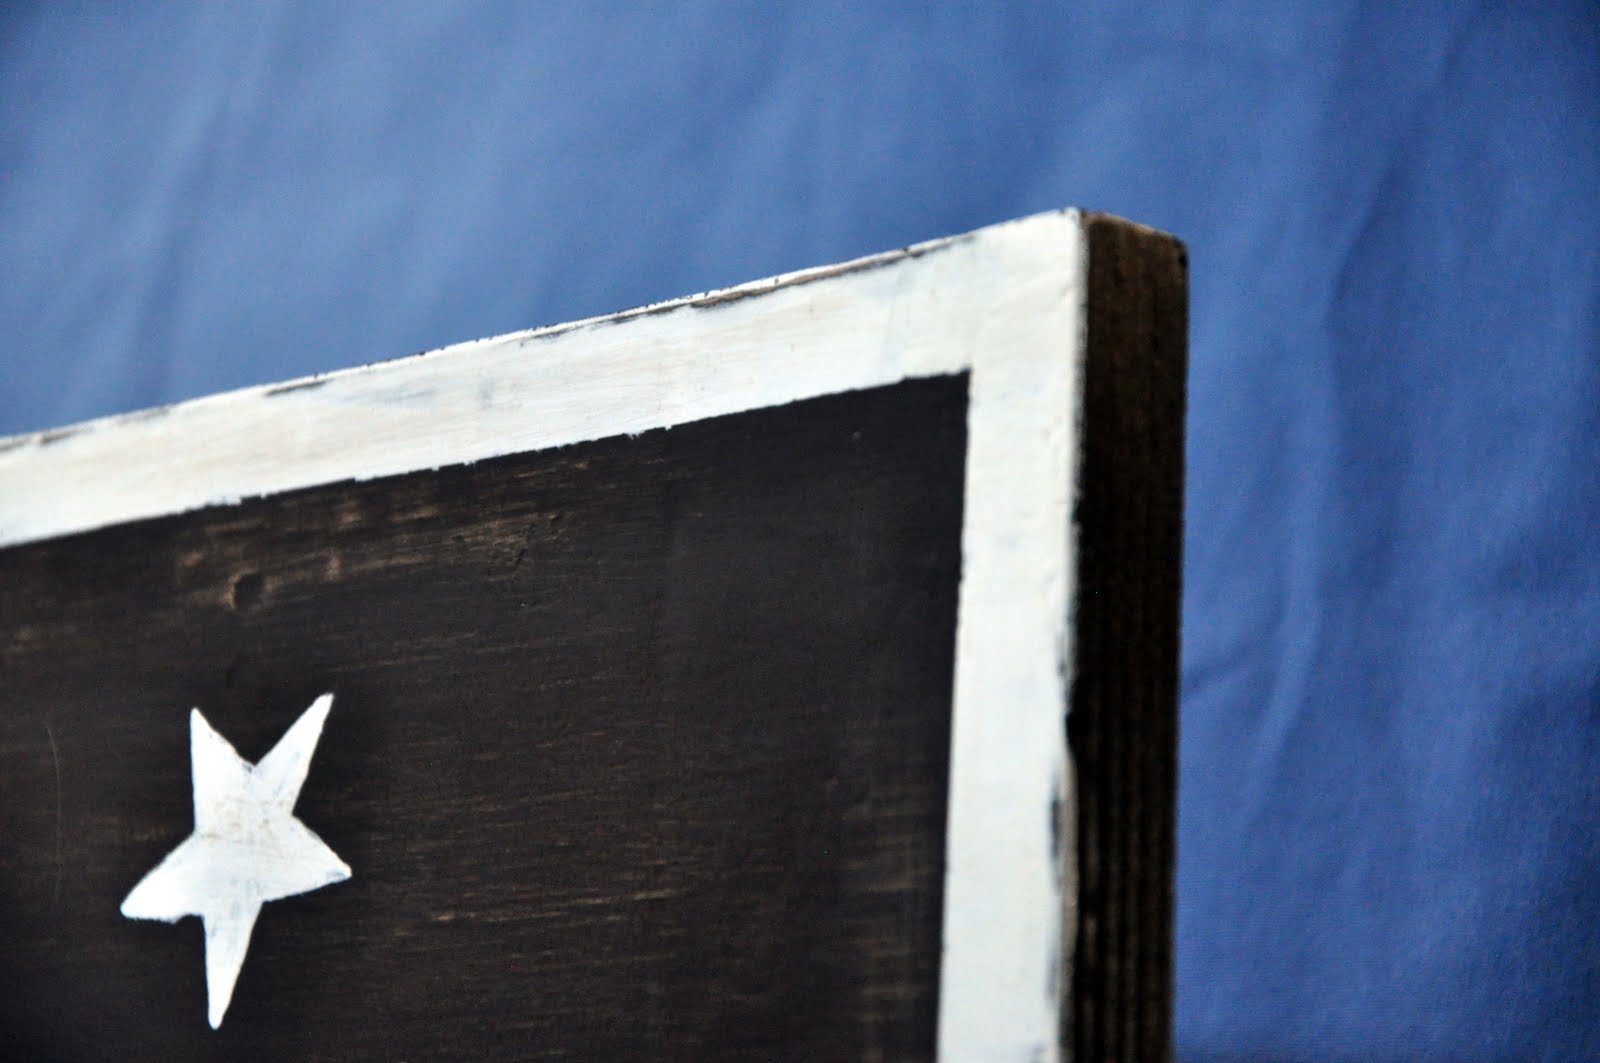


After painting and before poly I sanded it off a little because it looked a little too perfect given the sentiment of the sign.

Sunday, June 12, 2011

Fish Heads

While I was weeding in the front yard rocks I saw this little rock hanging out and I thought it looked like a goldfish cracker. Or a smiling fish head anyway. But it must be hard for a fish to smile when it hasn't any body so...


I helped it out a bit. See? Looks kinda like a goldfish cracker.


So I suppose now he's got something to smile about. And on the plus side, this is a fish that won't end up belly up in my tank.


PS. Even after fimo clay cools, the rock is still really freakin' hot. So be careful on that. :)

Wednesday, June 8, 2011

Kid Project: Super Simple 3D Stars


This weekend the kids and I played with craft punches a whole lot while I was working on the mantle decorations. One of the things I showed them was how to make 3D stars. I think this would be really fun to make a mobile with or to use decorative holiday paper and make 'em really big. I'm thinking something sparkly and white made from full size sheets (like 5 or 6 sides instead of just 3?) could be really pretty on a Christmas tree top, too. In this case, we found a really squirly branch while we were hiking and turned it into a mini-tree.

The materials are simple. Paper, scissors, thread, glue and an optional craft punch. Any shape will do as long as it's symmetrical.


Cut out your shapes and fold them in half.


Glue one half of the first two pieces together:


Put glue on the other halves and stick some thread in the middle for hanging:


Then cover with the third piece.


And that's it. I like this one because once the kids master the basic idea there are so many places they can take it from there, like making larger ones and punching smaller shapes out of it when it's done, putting pictures on the outside so you see new images as it turns, using more than 3 pages for more intricate designs, layering the paper, adding beads, etc. Have fun!

Monday, June 6, 2011

182 Stars


I saw a really pretty image on Pinterest of white stars all sewn up in rows that I thought would be great for Christmas or 4th of July. I wasn't quite sure how I was going to put them up when I started punching the stars out but as I laid them out it just sort of turned into an American flag. Of course, for Christmas or other holidays you could do the same thing with random colors or all white for a very pretty display.


That is a whole lot of stars, 182 to be exact (49 Blue, 63 White and 70 Red). It's a really good workout for your arms if you're using a craft punch like I did.


This will give you an idea of how far apart I was spacing them. I stuck a piece of tape on the machine to give me an idea where to pull it to.


As I finished sewing each row I taped them onto the branch so that I could adjust them all at the same time when I finished.


They aren't at all straight but it gives it more character anyway.


And below is my new mantle for the 4th of July, including the Liberty raised paper art from yesterday and the white mantle I worked on last month. There's no tutorial for the star but I just hand drew it (and redrew and redrew) on a piece of plywood until I had what I liked and then cut it out. I can't decide if it should be painted, stained or left bare. What do you think?


Sharing at Thrifty Decor Chick and
Todays Creative Blog

Sunday, June 5, 2011

Raised Paper Art


I've been seeing quite a few images of art with raised wooden words and I'm really liking it (a couple favorites here and here). BUT, I didn't really want to spend a couple hundred on art and I don't like the idea of being limited in fonts to only what I could buy at the store in pre-cut letters. Then yesterday while I was working on another project it occurred to me that if my cuts are all exactly the same (like if I cut it out with a paper punch or with the Silhouette) then I could layer the papers for the same effect. Enter the test project:


Looks like the verdict is that it definitely works. I used 5 layers of watercolor paper for the letters and 9 layers of card stock for the center star, both to about the same height. So, for future simplicity, this project style will certainly be done with watercolor paper (less layers to glue together).


Simply cut out your text/image multiple times and use a trusty glue stick to put them together. Same effect as the wooden letters, at a much cheaper price, and now I have the start of my mantel finished for July 4th.


Sharing here: HouseofHepworths