Wednesday, October 5, 2011

Snakes on a Wreath

Day 5/31:

For the front door the snake wreath was the perfect addition this year! I first saw the idea about a year ago (from The Art of Doing Stuff) and knew it would be perfect for the front door. I used one grapevine wreath, 8 rubber snakes and some spray paint. You don't even have to glue anything! Just tuck the snakes into the grapevines and they hold themselves.


At first glance people don't notice the snakes until they are up close to the door. It's scared a few so far and I think the neighborhood kids will like it, too.


Welcome!


Tuesday, October 4, 2011

Adhesive Felt Pumpkins

Day 4/31:

Wow, day 4 already! The kids and I got going on our next Halloween project today and had some fun.


In this house we love our non traditional pumpkins. Adhesive felt, pipe cleaners and miscellaneous bits are all fun for decorating and help us skip the mess of carving (which also means less clean up!).


We added a pipe cleaner halo to twist up some hair


And twisted them into a few easy curls


Strips of felt also hold on the pipe cleaner arms


This year we made Monster I and Kitty


And we made Monster II and Spider Pumpkin


Prior year pumpkins are here and here:


Monday, October 3, 2011

Butterfly Mobile

Day 3/31:

Inspired by the Heartland Paper mobile (found via Pinterest) I made one for Erin's bedroom makeover.


It's really very simple (Heartland paper has a step by step and a materials list so I'll let you click over there for the list). I cut out two butterflies for every one I wanted on a string so they could be glued together around the fishing line. So, each string has 5 butterflies but it's made from 10 punches.


I folded them a little using a straight edge (a butter knife in this case) so that the wings would stick up a bit.


I precut all of my butterflies and fishing line and then I started gluing them to the line. I didn't measure the distance but rather just eyeballed it to "close enough". The Elmer's glue Glue-All dries a little faster than the regular stuff and was perfect for this.


I ended up with 8 rows of 5 butterflies for the outside and 4 rows of 6 for the inside (but on the same size string).


For the metal ring on mobiles someone suggested buying a grease splatter shield from the dollar store and removing the middle for an inexpensive ring. It worked perfectly and was super cheap (does anyone know who said that because I can't remember which blog to give credit for the idea. I'll update this if someone knows). Next I tied the string onto my metal ring and then added bits of ribbon around the edges and to the fishing line across the middle. A little extra ribbon is perfect for hanging it and hides the tack that's in the top to hold it to the ceiling. It's so light that a single tack seems to be more than enough to keep it there.


Sunday, October 2, 2011

A Morning Without Coffee

Day 2/31:

A morning without coffee is a lot like sleep

The first time I heard that phrase I knew it was true. I thought it would be a nice touch in the kitchen so for a very simple project I spray painted a board brown (Java, of course) and used a stencil I cut with the Silhouette to make the phrase. And then I made a homemade stencil for the coffee cup by printing the graphic on a piece of cardstock and cutting it out.


I attached a small hook to the back and hung it above the window in the kitchen. I think it works perfectly!


Saturday, October 1, 2011

Destinations Sign

Day 1:

Today is the first day of my 31 Days of a Handmade Home series. This is already a great jumpstart to my creativity and motivation and I'm really thankful to The Nester for inviting us to join in.


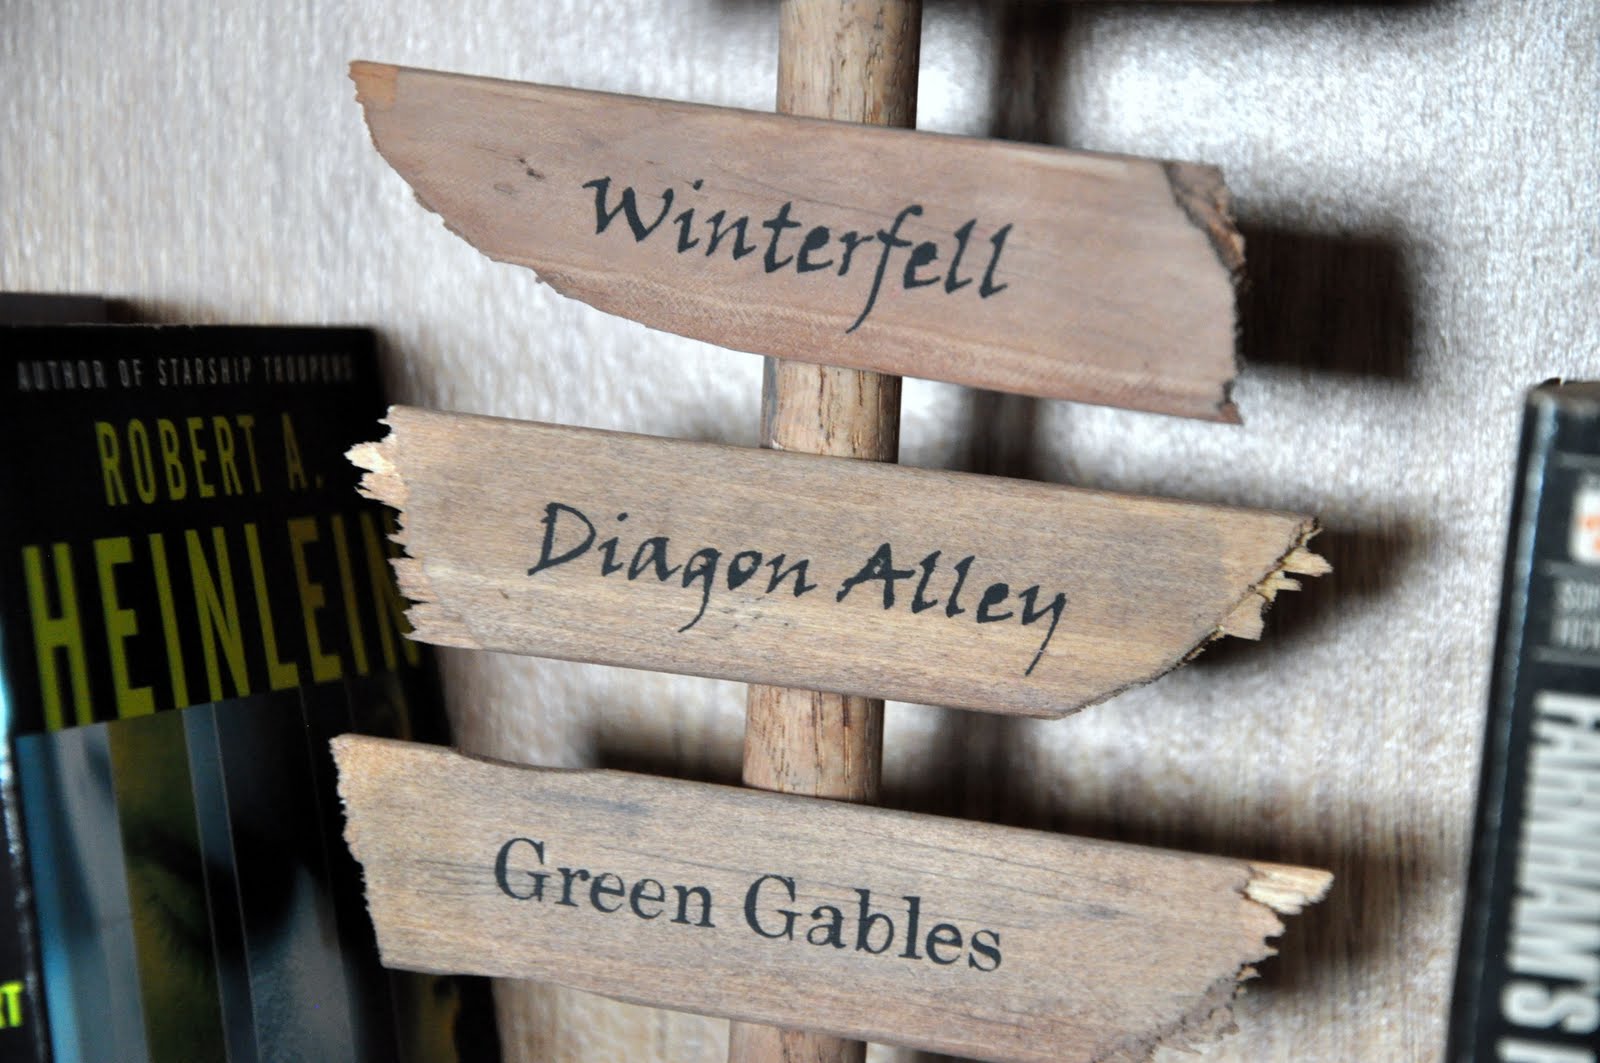
When I saw this sign it was instant love! However, I do not have a beautiful garden (or even a well planted yard) to put it in. But, I do have lots and lots of books.


So I made my own version, in miniature, for my bookshelf!


I broke a bunch of paint stir sticks and gave them jagged edges. I cut the words with the Silhouette machine and laid out the order for the destinations.


A little black paint and the vinyl can be peeled off.


I drilled a hole into a small piece of 2x2 to hold it up and glued it in. Then with the wood glue on and tape to hold everything in place I left it all overnight to dry.


And then the next morning I washed down some gray paint and some brown paint with water and put a thin wash over the wood to give it a little pretend age.


It is now living with the book collection (safely nestled in the Heinlein books) and I'm loving the new addition.